


Week five/six of the One Room Challenge is here and it's possibly my most exciting DIY to date. We gave our stairs a much needed makeover and it's making me so so happy.
Our home is a raised bungalow. You enter through the front door and immediately are greeted with two different staircases. One had awful beige carpeting leading to the basement and the second set had hideous carpet stickers covering hardwood stairs.
DIY Stairs Makeover
Basement Staircase Before

Upstairs Staircase Before

View of Both Staircases from Front Door

Our plan involved making the two sets the same by painting them white and adding stair runners.
It began with uncovering what was under the beige carpeting leading downstairs. I was hoping for beautiful hardwood stairs but Andrew assumed it would be pretty rough. He was right. We considered buying risers and treads for this set of stairs but it would have added roughly $300 and we are trying to keep this a low cost project.
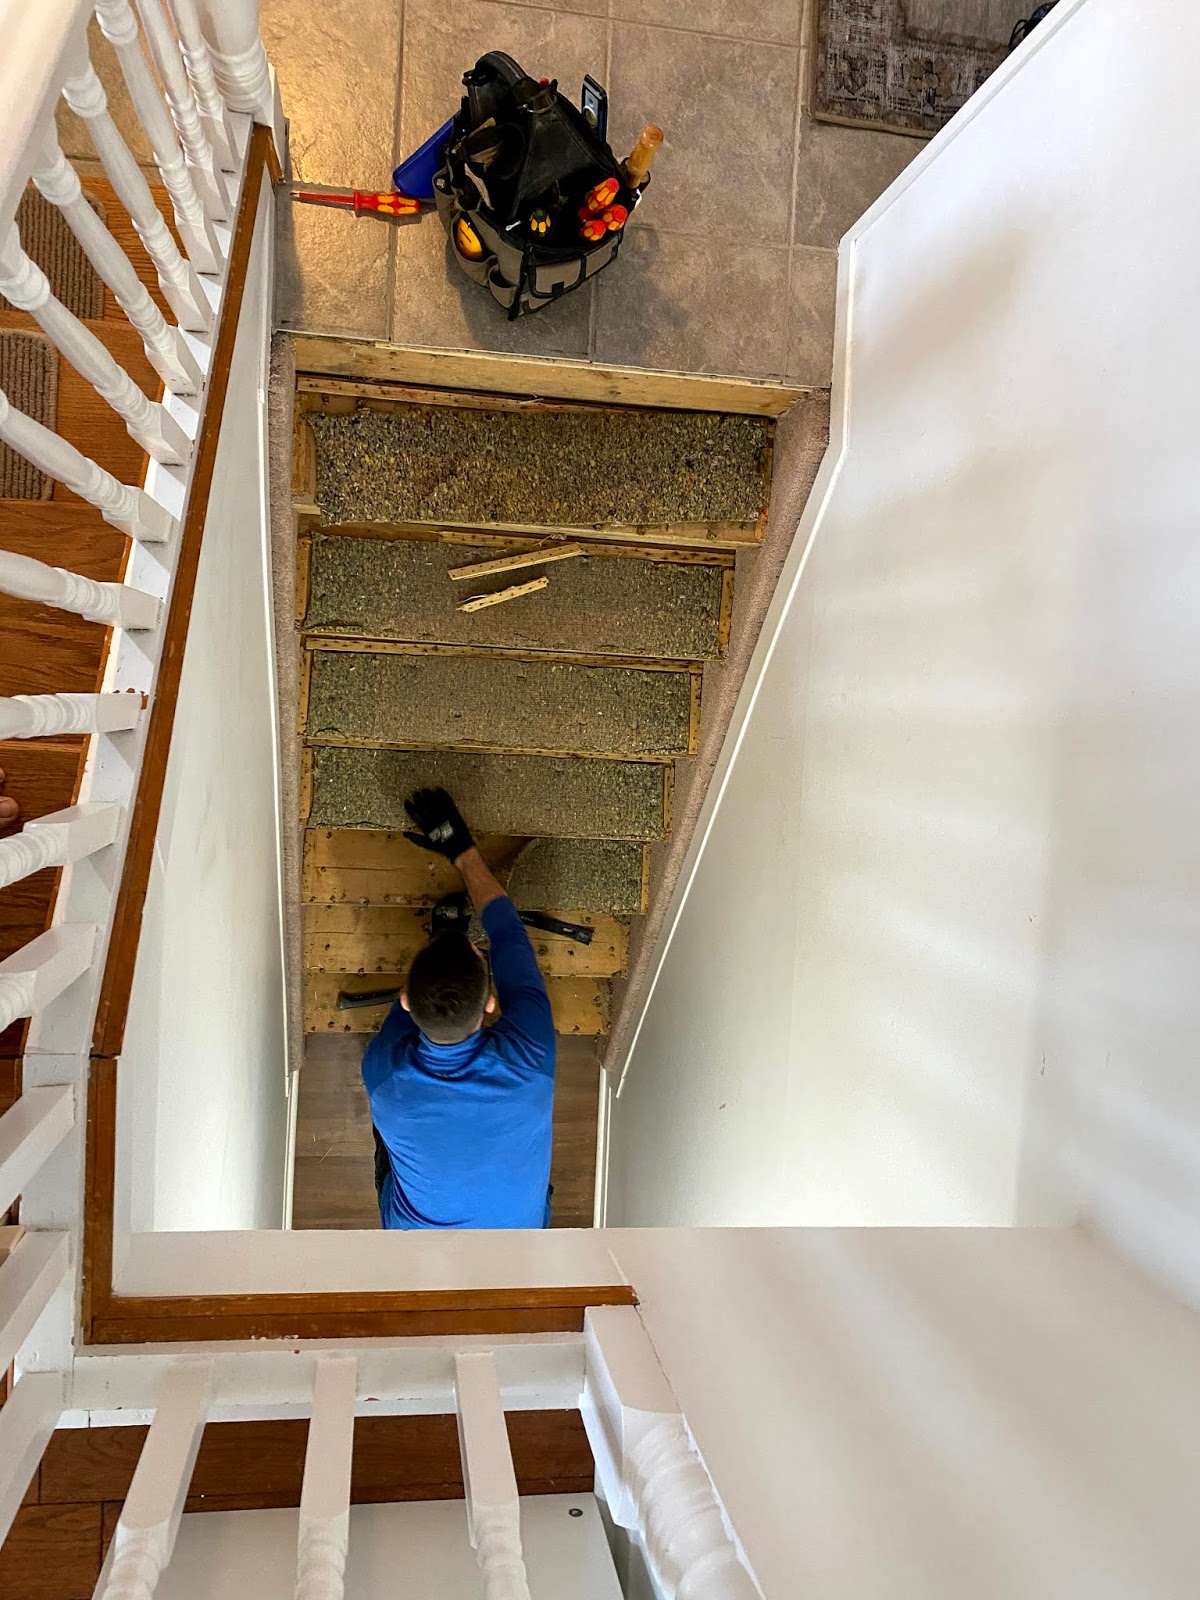
Basement Staircase After Removing Carpet

Next Andrew filled in all of the holes and caulked along the seams.
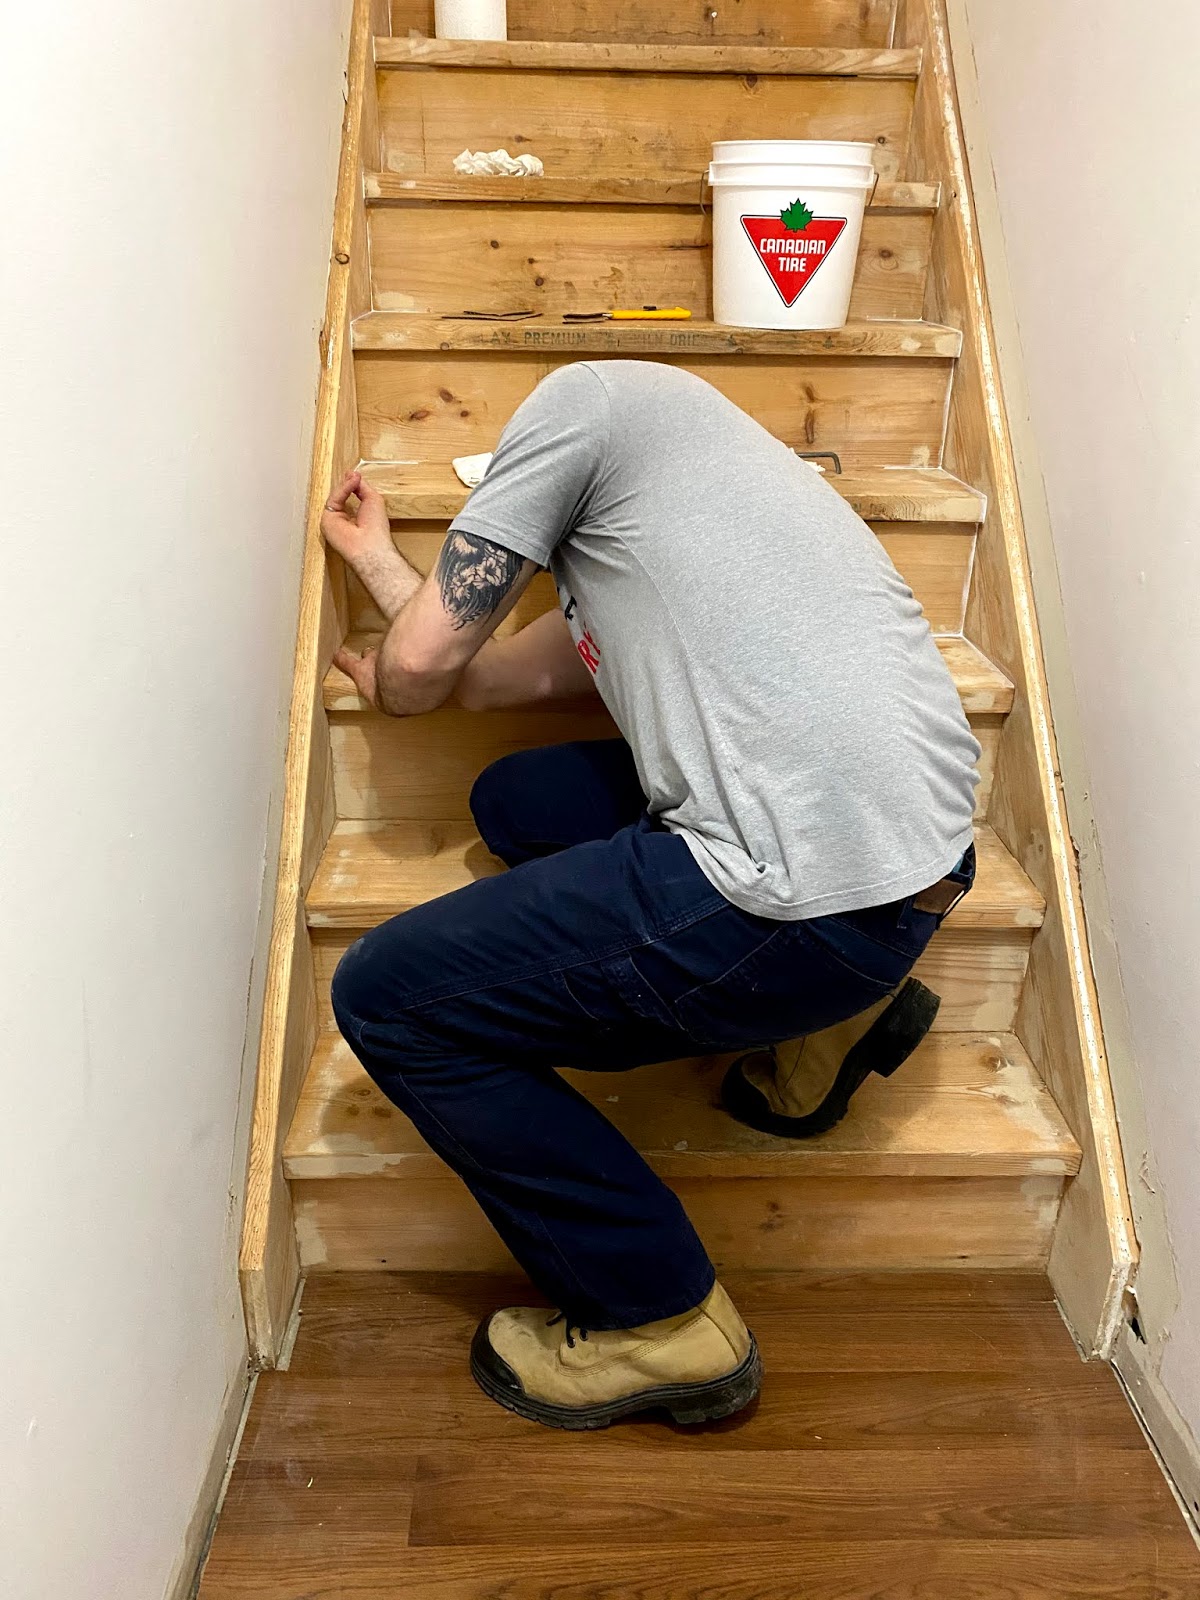
The side pieces were also covered in carpet originally and had tons and tons of holes so rather then try to fill them all, Andrew cut trim to cover them.

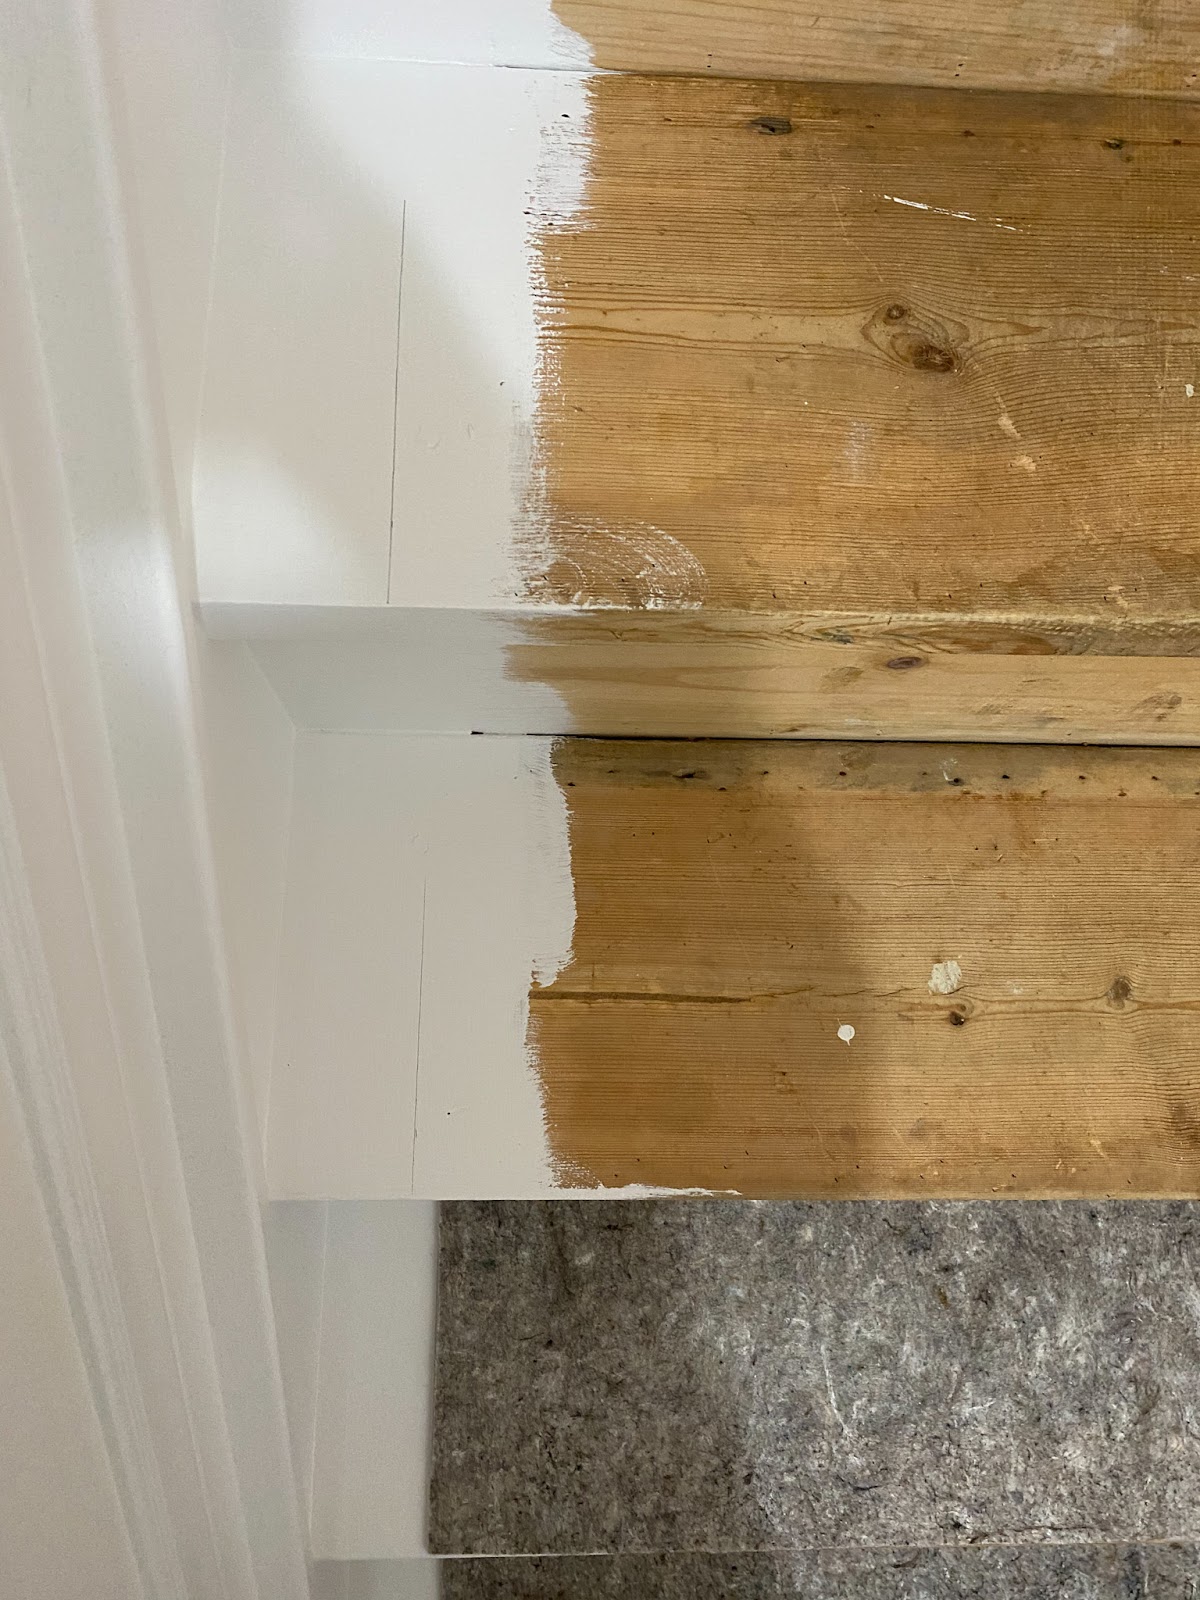
Next we used primer and two coats of Farrow and Ball Wevet to paint the exposed parts of the staircases that would not show once the padding and runners were added.

We wanted to add padding under the runners and I ended up finding a good deal on this rug pad that had one grippy side and one softer side and then Andrew measured and cut it up to fit our stair treads. He added double sided tape.

Andrew went through and measured where the padding should be laid on each staircase. The padding was cut one inch narrower then our runner on each side.

We rented a staple gun for half a day from Home Depot to make this part easier.


This took a few tries and did involve some pulling out of staples and trying again. So patience is required here. It was important to us that the runner lie as flat as possible and that was a challenge as walls are never perfectly straight it seems.

At the top of the basement staircase Andrew used a utility knife to cut the carpet and then we added a metal edging over the carpet and tile. At the top of the upstairs Andrew cut the carpet leaving a couple of inches and then folded the carpet under the hardwood transition piece and stapled it down. This ensured that it would be a nice clean looking line and that the cut carpet wouldn't fray.
DIY Staircase Makeover Reveal
I cannot get over how much better this view is now!
I am in love with these runners gifted to us by Loloi. They are the Alchemy Silver / Graphite by Loloi and they are neutral enough that we won't tire of them but they aren't what I would call a traditional staircase runner.


Gifted Products Shown // Endless Summer Wallpaper designed by Aviva Stanoff and manufactured by York Wallcoverings, wall paint Good Jeans by Clare Paint, Staircase Runner Rugs Alchemy Silver / Graphite by Loloi
The plan breakdown:
- Done // Rip out the tile and replace sub flooring and tile
- Partially Done // Paint doors and panelling
- Partially Done (we ran out oops) Wallpaper
- Replace lighting
- Build a console table
- Replace door hardware
- Done // Add new rugs
- Done // Refinish staircases and add runners
- Add accessories
Wonderful partnerships that are making this renovation possible:
I am so grateful to the following brand partnerships that are supporting this One Room Challenge project!
Hudson Valley Lighting // Loloi Rugs // Clare Paints // York Wallcoverings // Emtek
Pin It to Save It!


What's next? Follow along to see all of the projects shared by the featured designers and guest participants!

Absolutely beautiful flooring!! I love that herring bone!
ReplyDeleteIt looks amazing, Ashley!!
ReplyDeleteWhat a huge transformation Ash! I love them so much!
ReplyDeleteI can say that you did a wonderful job by transforming your living space! You are a real professional! And we also are! Follow customcollegeessays.com/blog/global-warming-essays and see how we can please you!
ReplyDeleteI adored your tutorial on the stairs makeover. I think it is great and original. The vision gleams despite the fact that one is not able to see all the details. Being a person who finds herself at the point of searching waterloo student housing, your ability makes me confident that I would be able to make even a typical dorm stair look attractive and comfortable. Keep sharing
ReplyDeleteI found great satisfaction with the stair redesign project which I discovered through DIY. The implementation of minor adjustments will result in complete transformation of the area. The combination of paint and lighting and texture elements creates an effect that makes the staircase appear as a fresh installation which requires no major financial investment. The project functions as a motivation for me to complete minor home improvements during my weekend schedule because I need to stop analyzing every detail. I discovered that both graphic design dissertation work follow the same principles of balance and contrast. The article provides valuable content which establishes clear guidelines for readers to follow throughout their reading experience.
ReplyDelete